Let's guide you through the process of creating amenities for meeting rooms
By listing available amenities clearly, users can quickly identify rooms that best suit their meeting needs. This prevents confusion and wasted time searching for rooms with specific features, leading to more productive meetings.
First you need to create Amenities
This article will guide you through the process of creating amenities for meeting rooms.
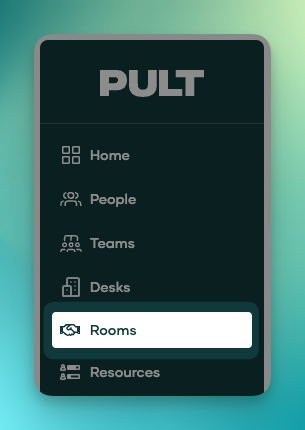
1. Click on Rooms in the dashboard
After logging into your account (admin dashboard), click on the Rooms button.

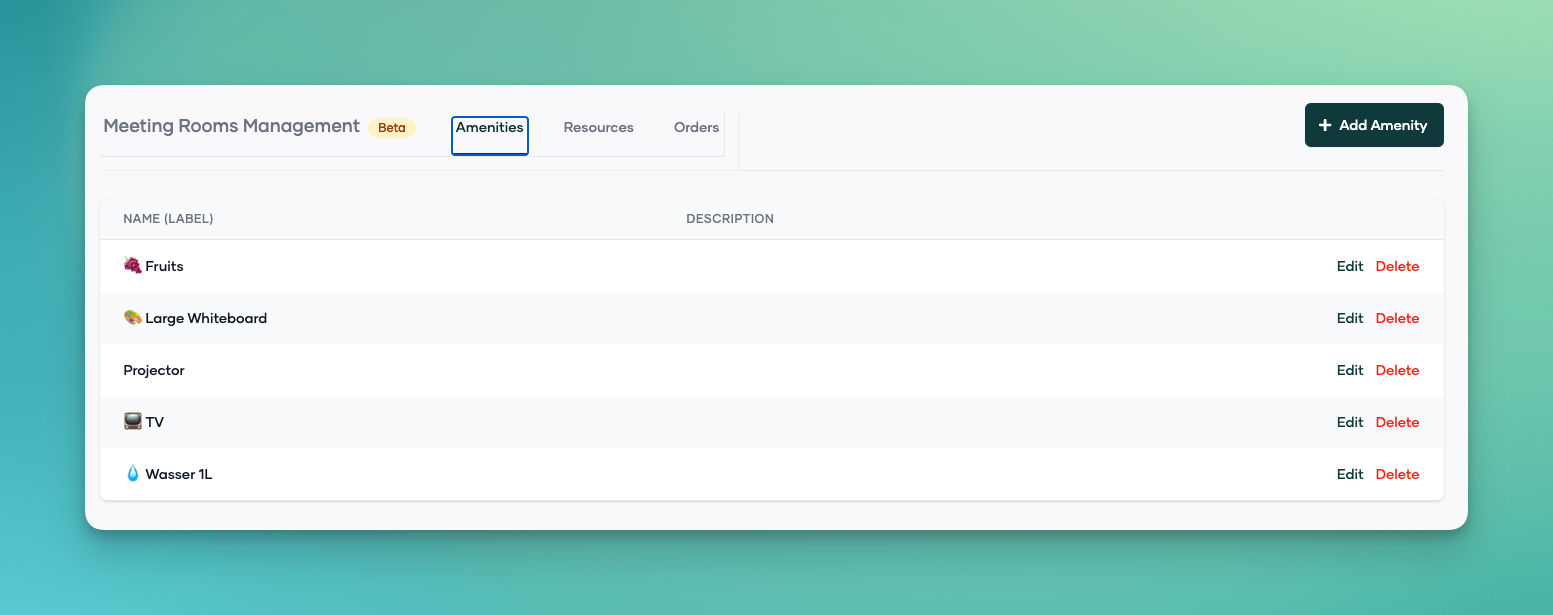
2. Click on the Amenities Tab

3. Click on the + Add Amenity button

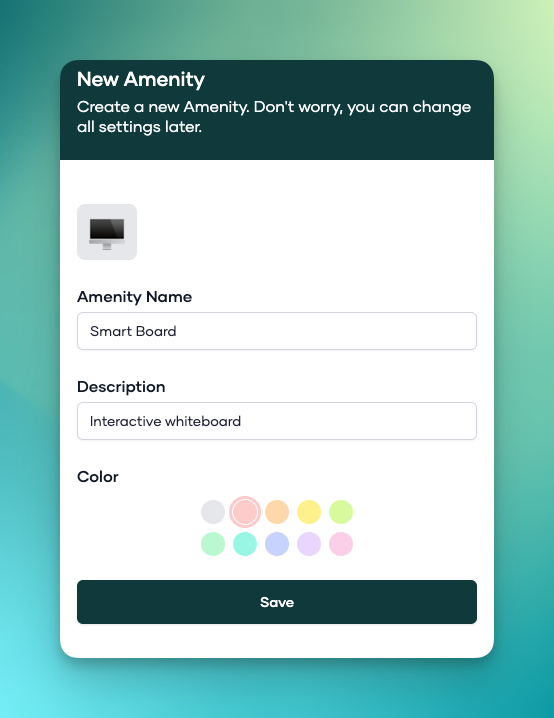
4. Fill out the Amenity Details
-
In the Amenity Name field, enter the name of the amenity.
-
In the Description field, enter a description of the amenity.
-
In the Color field, select a color for the amenity. This color will be used to differentiate the tags of the amenities by colour.

Click on the Save button.
The Amenity will be added to the overview screen. Here you can edit or delete existing amenities:

This next article will show you how to add the amenities you have created to meeting rooms.
