Check In with PULT Desk QR Codes
Last updated: October 21, 2025
Simplify the check-in by using QR codes
You can simplify the check-in for your users by placing QR codes on the desks. Your employees can then use the camera on their smartphone to scan the QR code and check in to the desk they've booked. This eliminates the need to manually search for or select the desk in the app.
First you need to generate and print the QR codes.
Go to the Desks section of the PULT app and click Edit next to the office you want to generate QR codes for.
Click on Manage QR codes
Click on Generate QR Codes
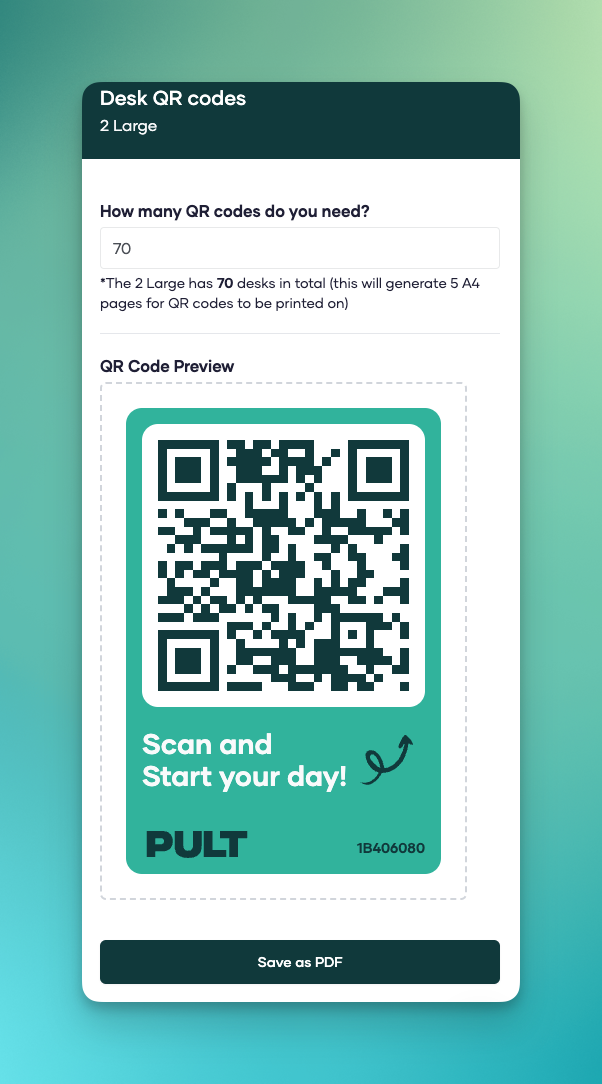
Enter the amount of QR codes you need. As a help, the total amount of desks as well as the amount of A4 pages needed will be shown. Click on Save as PDF:
Be sure to follow the following printing recommendations for the best results:
Print the QR codes on white vinyl sticker paper with a suitable adhesive alternative
We recommend to print the generated document on A4 pages
Now you can link the QR codes to specific desks.
We recommend that you place the codes on the desks before linking them. You can use your smartphone or tablet to scan the QR codes whilst being logged in to the PULT dashboard.
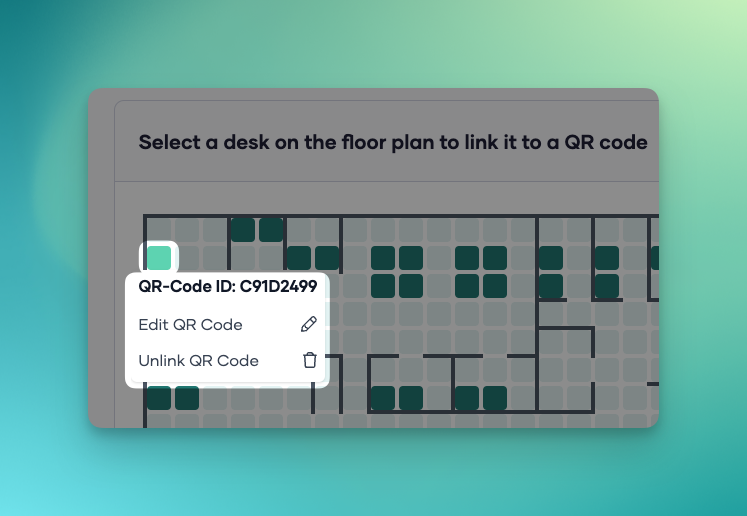
Select a desk on the floor plan to link it to a QR code
PULT will ask for your permission to access your camera to scan the code.
Scan the code with the camera
The QR code will be linked to the selected desk. Desks with a linked QR code will be shown in light green on the floor plan. If you need to make changes or want to unlink a QR code then simply click on the desk and select the desired option:
Please reach out to our support team if you require further assistance with the set up procedure.