Adding amenities to meeting rooms
Last updated: December 15, 2025
How to add amenities to meeting rooms
By listing available amenities clearly, users can quickly identify rooms that best suit their meeting needs.
You need to create amenities first before you can add them to your rooms. This article will show you how to create amenities before you can add them. If you've already created them - great! Keep reading to find out how to add them to your rooms.
1. Click on Rooms in the dashboard
After logging into your account (admin dashboard), click on the Rooms button.

2. Click on Edit next to the room where you would like to add amenities

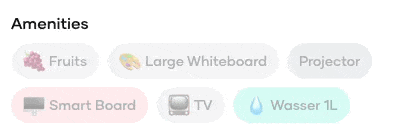
3. Select the amenities that are applicable for this room
Don't forget to click on Save. Congratulations, you've just added amenities to your meeting room!
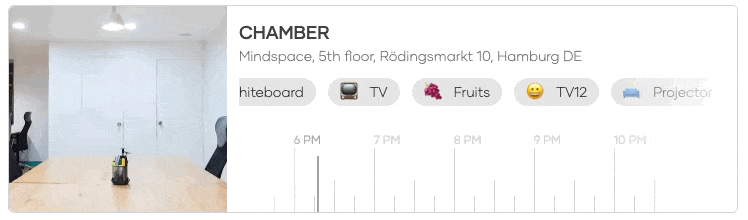
This is what it looks like in action in the Web App: