How to create teams or groups in PULT
In this article, you will learn how to create teams, aka. groups on PULT.
💡 Note: Why is it useful to create Groups
Groups let you limit room access, assign team leads for self-management, and view usage reports per group.
Step 1: Access Team Management
Sign in to your PULT Dashboard account as an Admin and navigate to the "Teams" area. Here, you can see and manage all of your current teams or groups.
Step 2: Create a Group
To create a new group, click on the "Create a group" button. The settings screen for the new group will open:

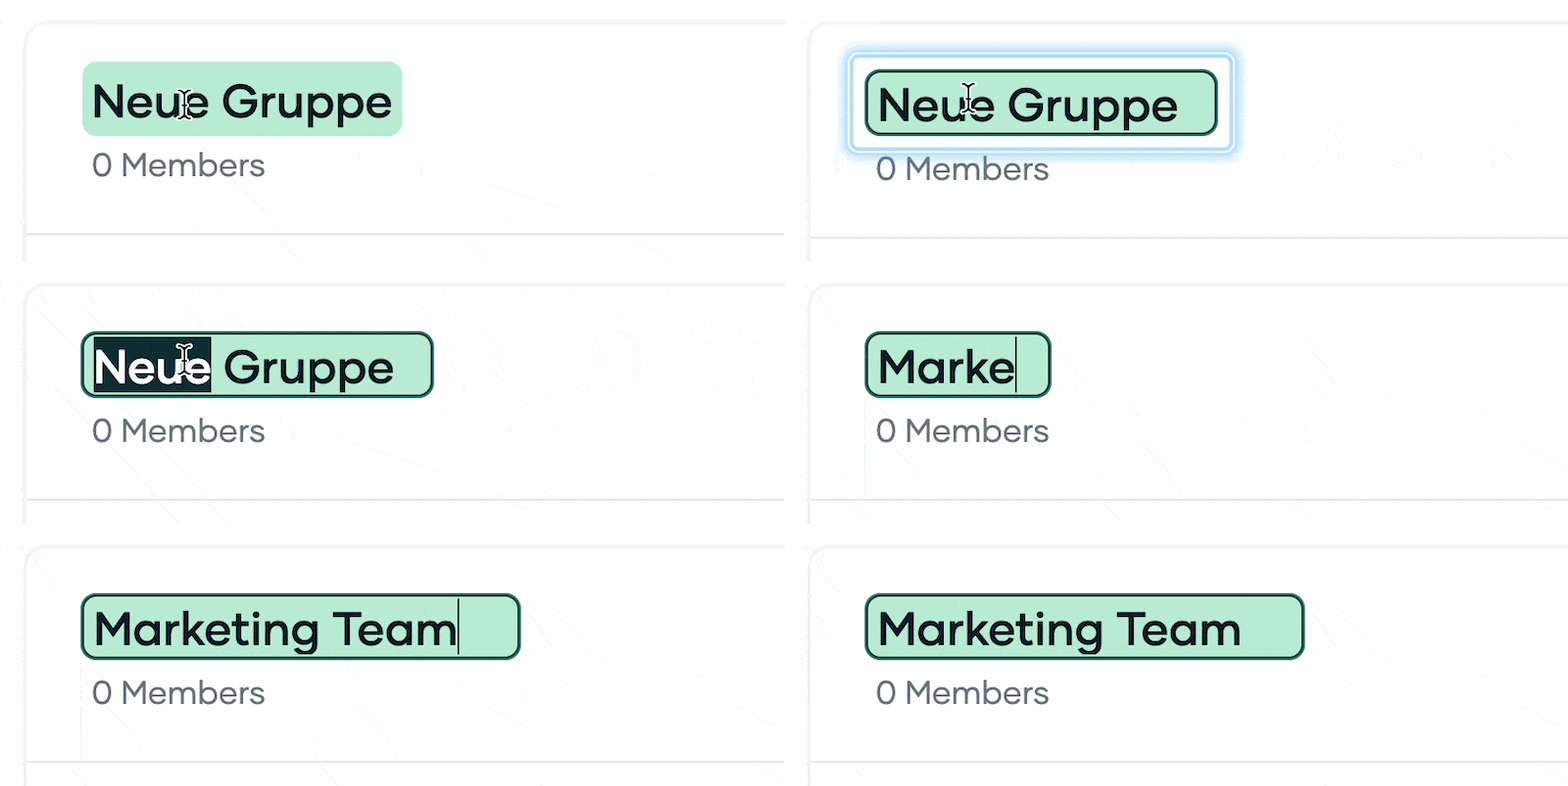
Name group/teamGive your group a unique name so that it can be easily identified later. To do this, simply click on "New group" and change the given name. This new name will be saved automatically. Note: The default setting for newly created groups is "Default Group/Unassigned". This means that all new members you add initially belong to no specific group.
Step 3: Add Members
Once you have created your group, it's time to add members. Click on the "Add Member" button or "Add from Slack channel" if you wish to add members from a specific Slack channel.
Step 4: Enable PULT for the Group
To enable PULT for your group, click on the "Enable Pult" button. This will activate PULT for all members of your group. Users who are not enabled will not be billed.
Step 5: Enable Booking Priority
With the "Enable booking priority" function, you can activate booking priority for the users in this group. The priority settings are configured on a per-office basis.
💡 Note: Why Use Booking Priority?
Booking priority is useful for limited or unlimited offices without a floor plan.
Step 6: Home Office requests
A streamlined and defined process for requesting and approving home-office days removes ambiguity and eases navigation for both employees and managers.
You can set up home booking requests directly in Pult if your corporate policies require approval of home office days. The requests can be accepted by team leads or admins. More information about home office booking requests is available here.
Step 7: Add Team Leads
You can designate team leads if required. They can approve home office requests and have analytics and impersonation permissions limited to members of their group.
Step 8: Set up Office Limitations
You can restrict access to specific offices in the "Office limitations" area. People in this group will then only be able to access selected offices. Click on "Manage" to configure these restrictions.
Step 9: Group Isolation
Group Isolation is a feature that allows you to restrict the bookings team members can see within PULT to the bookings of their own team and it also hides them from other teams
🗑️If you no longer need a group, you can delete it by clicking on "Delete Group".
💡Please note that groups can't be deleted if there are still users assigned.
