How do visitors check in on a kiosk device?
Last updated: October 21, 2025
This article will guide you through the check-in process on a kiosk device.
Subscription required: Please note that the features below are only available with a Visitors Add-On subscription. Choose the plan that best suits your needs to gain access.
This article is intended to give you a brief overview of how a visitor flow can look on a kiosk device. You've got a number of options when it comes to customizing the Welcome & Check-In messages as well as the questions contained in the flows or the documents visitors might be required to sign.
Let's have a look at a sample flow!
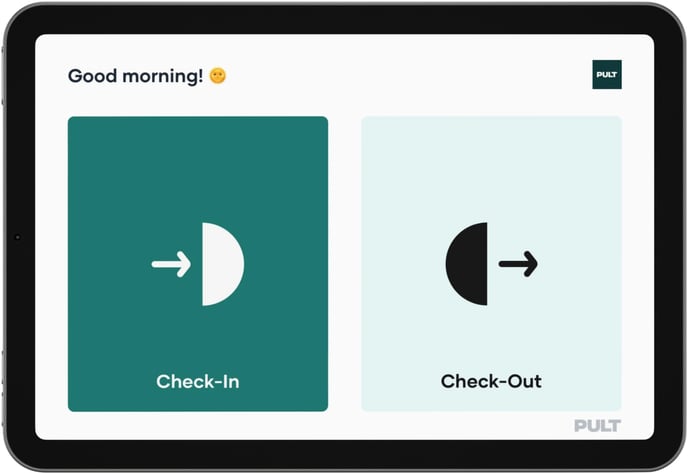
Upon approaching the kiosk, you will be greeted with a welcome screen. You can customize the colours and upload your your own logo in the PULT Dashboard under Settings -> Company. Simply tap on Check-In to start the process.
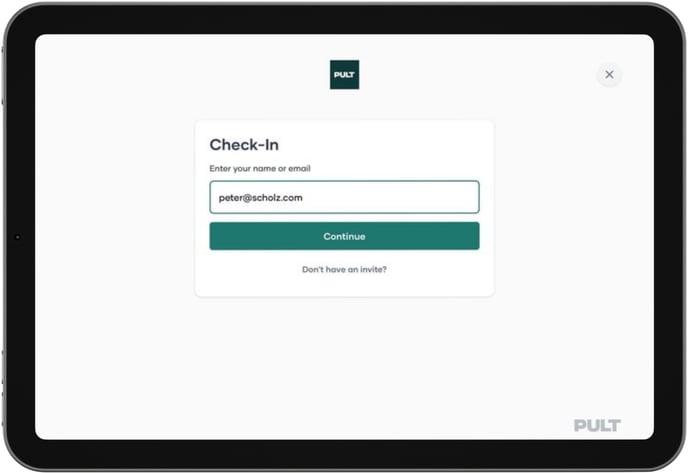
The visitor can search for either his name or email in the following screen (visitors without an invitation can click on Don't have an invite? and enter their details manually):
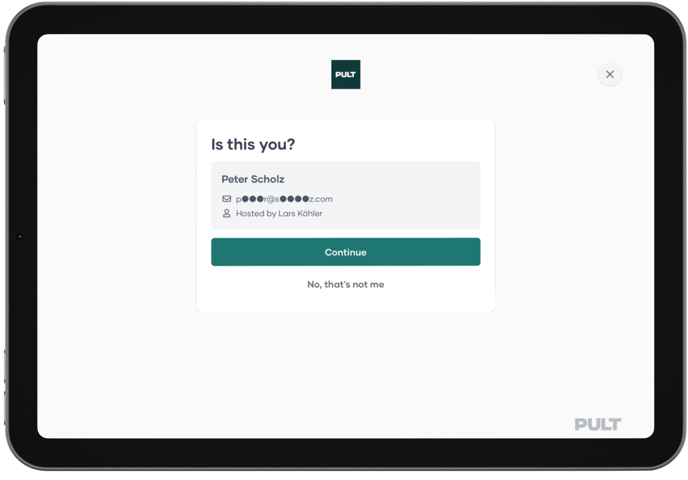
The search results as well as the name of the host will be displayed. Tap continue to proceed:
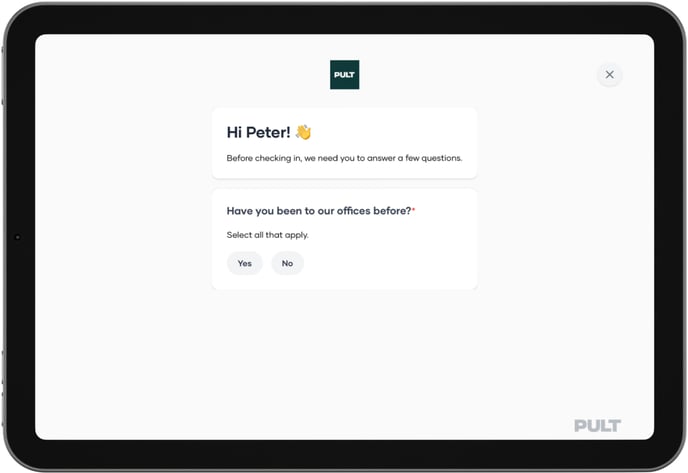
The next steps are entirely up to you - you can customize the flows as you see fit:
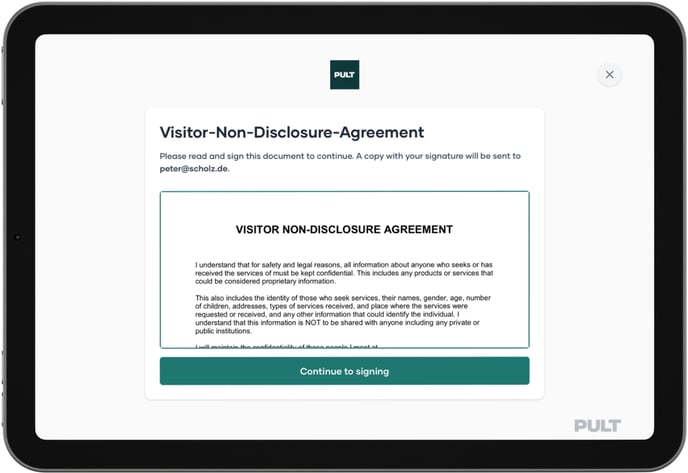
It's also possible to include documents in the flow (for example an NDA that needs to be signed). It will be possible to tap on Continue to signing after scrolling to the bottom of the document:
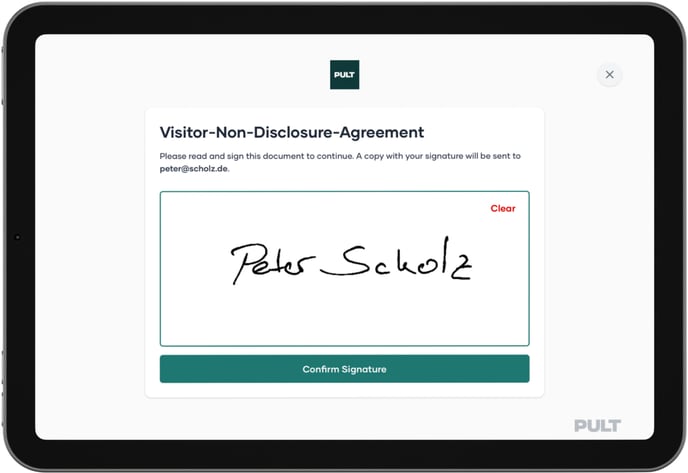
The visitor can sign the document directly on the tablet:
In this flow, the signature completes the flow and the visitor is checked in:
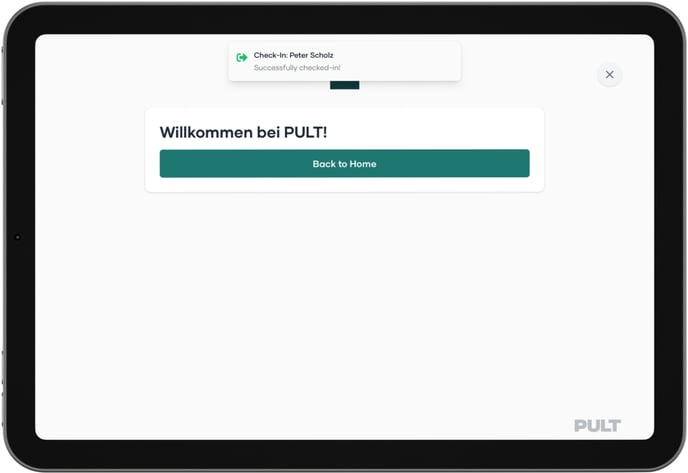
You can customize the messaging as desired, for example to let the visitor know that their host has been informed of their arrival. The hosts will be notified by MS Teams or Slack as well.